I’ve spent way too much time fiddling with image sizes in Excel. What initially appeared to be a simple task—dropping in a logo or a screenshot—quickly turned into a frustrating cycle of stretching, resizing, and muttering under my breath. Through trial and error, and more than a few headaches, I’ve picked up some practical tricks along the way. This guide will walk through everything you need to know about managing image size in Excel, step by step.
Key Takeaways:
- Always resize images using corner handles and lock the aspect ratio to avoid distortion.
- Use “Move and size with cells” to keep images anchored properly in your layout.
- Embed logos in headers and footers for consistent branding across printed pages.
- Use the
IMAGE()function or VBA macros for precise, automated image placement and resizing. - Compress large images to keep your Excel files fast and manageable.
Table of Contents
Introduction
The Importance of Image Sizing in Excel
Image sizing in Excel plays a crucial role in maintaining the visual integrity and functionality of your spreadsheets. Perfectly sized images enhance clarity, support data visualization, and ensure your sheets remain professional in appearance. Whether working on financial reports or organizing a creative project, correctly sized images contribute to the efficient communication of information. Over or undersized images can disrupt worksheet layout and hinder readability, making precision in image sizing an essential skill.
Why Image Size Matters in Excel
Images in Excel aren’t just decorations. I use them to:
- Brand client reports with logos
- Insert data visualizations or infographics
- Show steps using screenshots
- Highlight product visuals in inventory sheets
But if they’re too big, they break the layout. Too small? They’re useless. So getting the size right is key.
Mastering Image Insertion
Using the Insert Menu for Seamless Integration
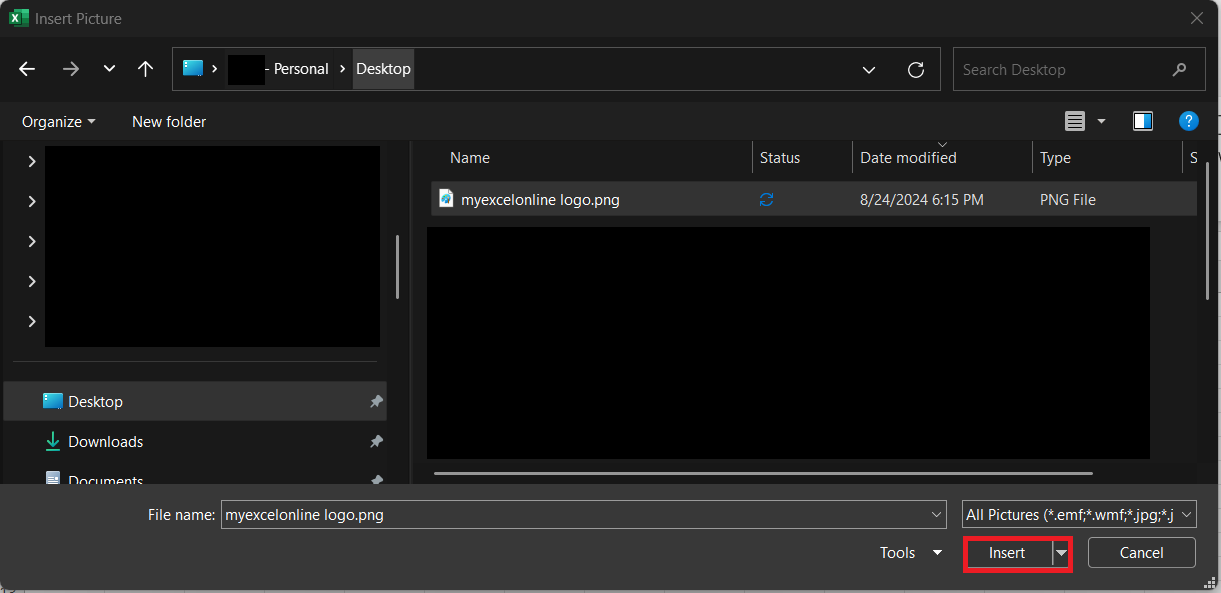
The Insert menu in Excel is your go-to tool for seamlessly integrating images into worksheets. Start by selecting the cell where you wish to position your image. Navigate to the Ribbon and click on the “Insert” tab, then choose “Pictures” > “Place over Cells” from the available options.
This allows me to browse files on my device to find the desired image.
Upon insertion, Excel automatically incorporates the image into the spreadsheet, maintaining its initial size.
For fine-tuning, click and drag the image corners to resize it while holding the Shift key to preserve proportions. This straightforward method ensures my images are smoothly integrated without disrupting the overall layout.
Embedding Images into Headers and Footers
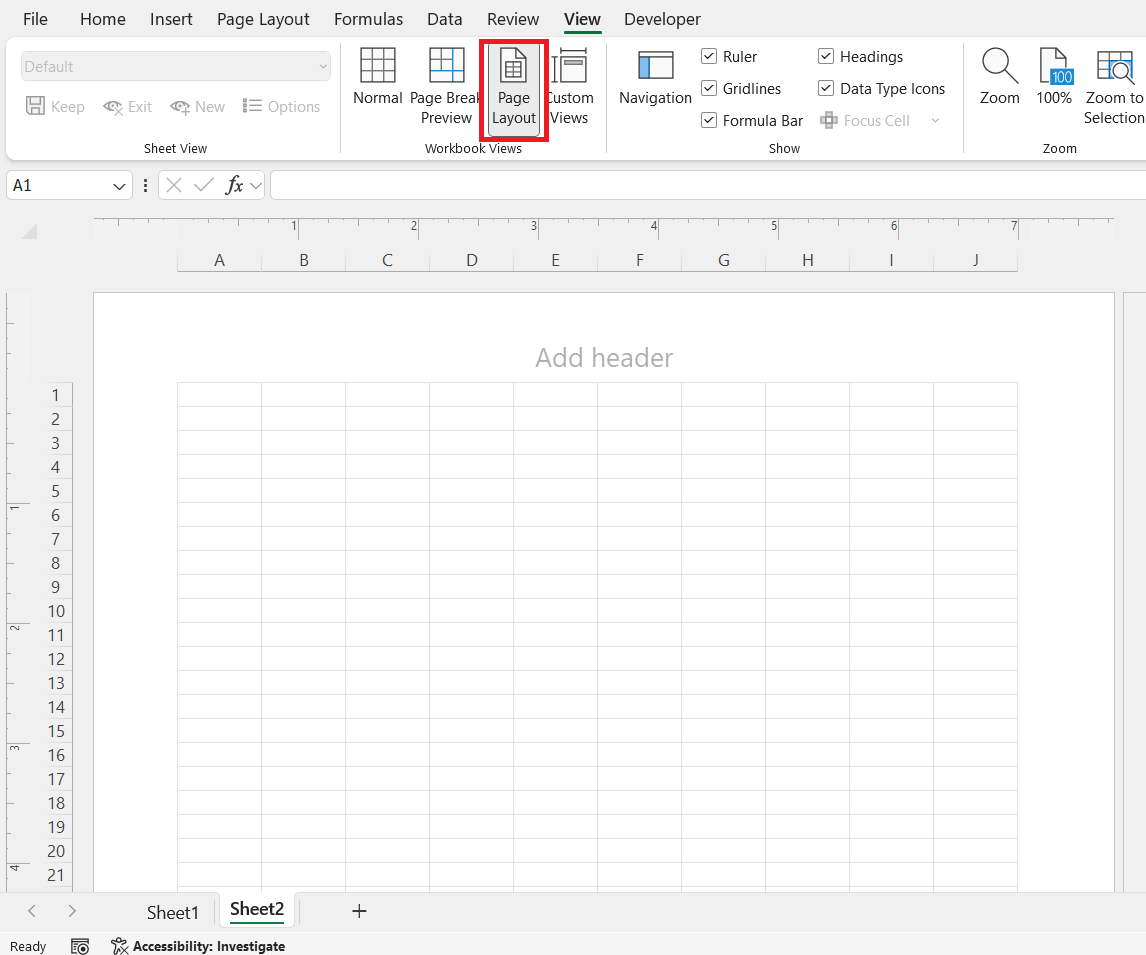
Embedding images in headers and footers can significantly enhance the professional look of my Excel sheets. To do this, open the “Page Layout” view by selecting it under the “View” tab.
Click on “Insert,” then “Header & Footer.”
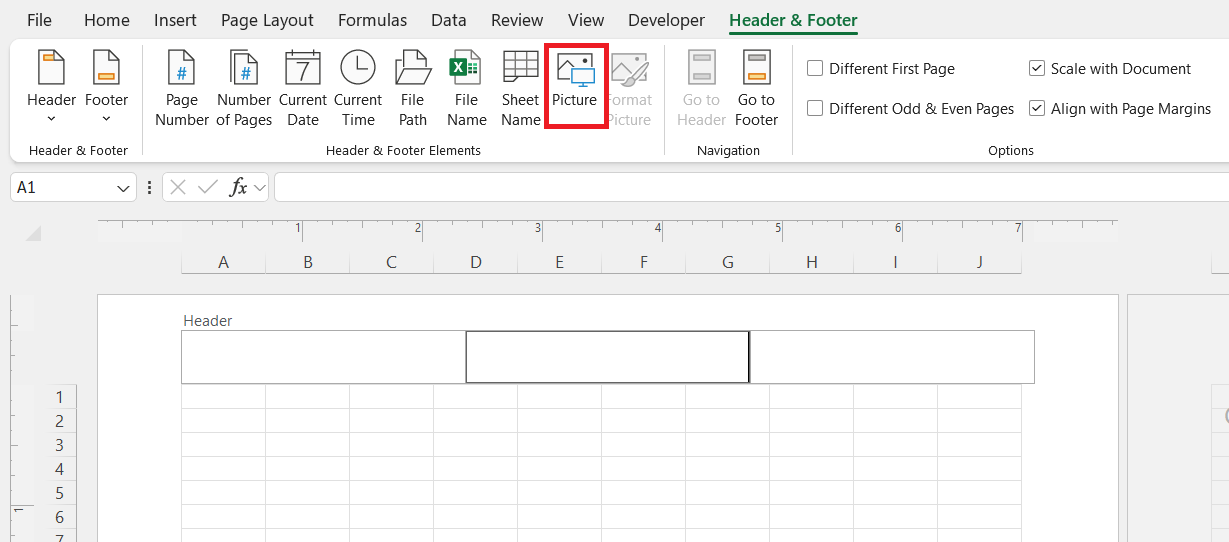
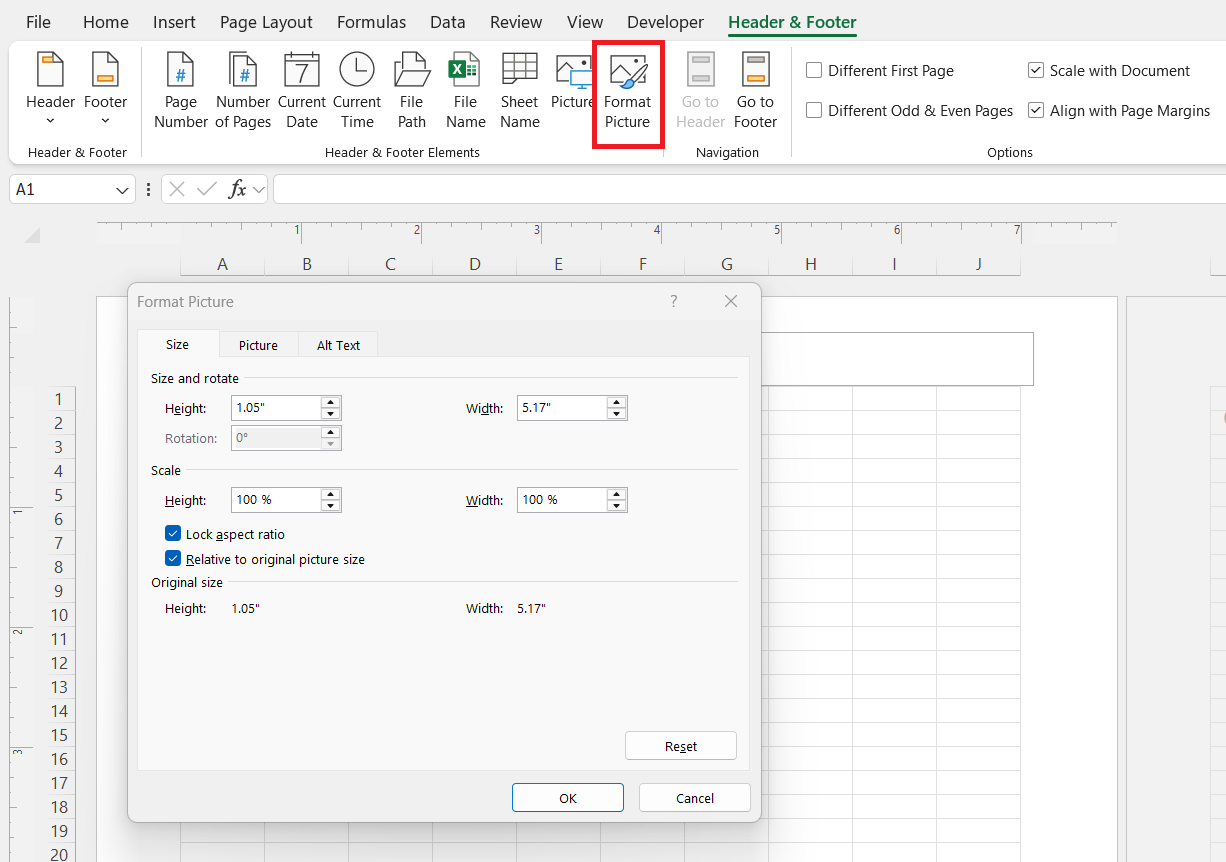
Here, I have the option to select either the header or the footer area. Once I place the cursor in the desired location, click “Picture” in the “Header & Footer Elements” on the Ribbon.
After selecting an image, use “Format Picture” to adjust the size and alignment, ensuring it fits well within the space.
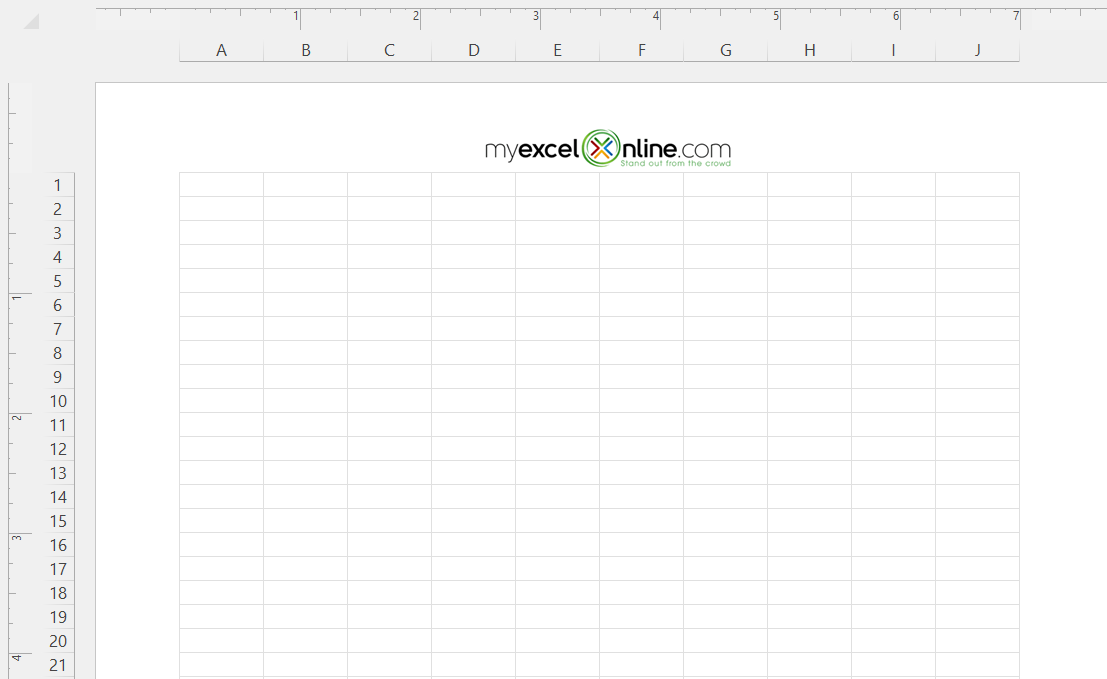
This integration is especially useful for branding, allowing logos or watermarks to appear consistently on each page.
Resizing Images Like a Pro
Adjusting Picture Size to Fit Cell Dimensions
Adjusting picture size to fit cell dimensions in Excel ensures a neat and organized appearance. To do this, I first click on the image, which activates its border handles, signifying that it’s ready to be resized. Next, I position the image cursor in the corner of the image and drag it until the picture aligns with the cell boundaries, holding down the Shift key to maintain proportional dimensions.
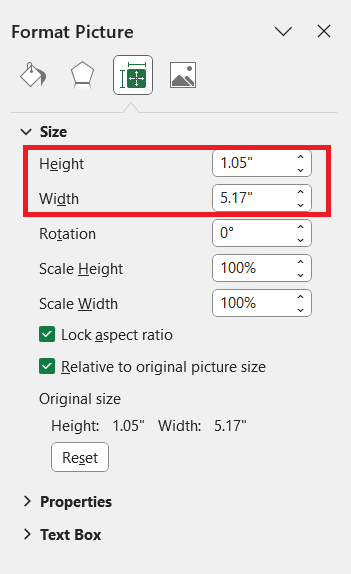
Alternatively, I can manually specify the height and width by right-clicking the image, selecting “Format Picture,” and inputting exact measurements under the “Size” tab.
This precise control guarantees that my images align with cell grids, preserving the overall worksheet layout.
Using VBA Code for Precise Image Resizing
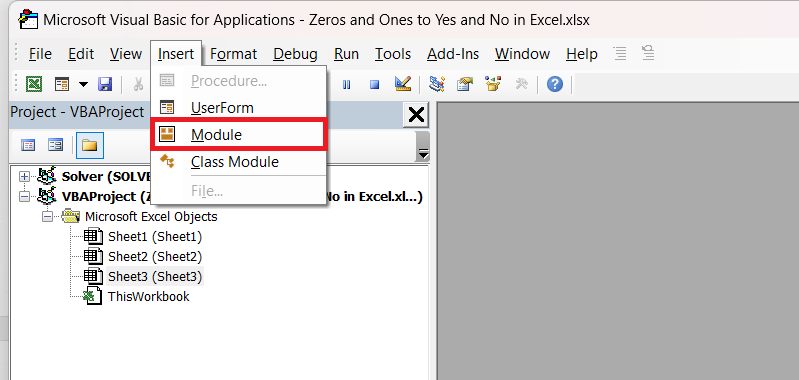
Using VBA code in Excel offers precise image resizing capabilities that go beyond manual adjustments. First, I open the VBA editor by pressing “Alt + F11.
In the editor, I select “Insert” and then “Module” to open a new code window.
I can utilize code like the one below to resize images based on specific dimensions:
Sub ResizeImage()
Dim pic As Picture
For Each pic In ActiveSheet.Pictures
pic.Width = 100 ' Set desired width
pic.Height = 50 ' Set desired height
Next pic
End Sub
This script steps through all images on the active sheet and resizes them to the specified width and height. By running this macro, I ensure that each image meets the exact size requirements, making my spreadsheets look uniform and professional. VBA allows for customization in image placement and size, giving me enhanced control to maintain spreadsheet aesthetics and functionality.
Matching Image Size with Exact Proportions
Matching an image’s size with exact proportions in Excel is crucial for maintaining its visual integrity. To accomplish this, I first select the image, then navigate to “Format” under “Picture Tools” on the Ribbon. Here, I can directly enter the desired dimensions in the “Size” section.
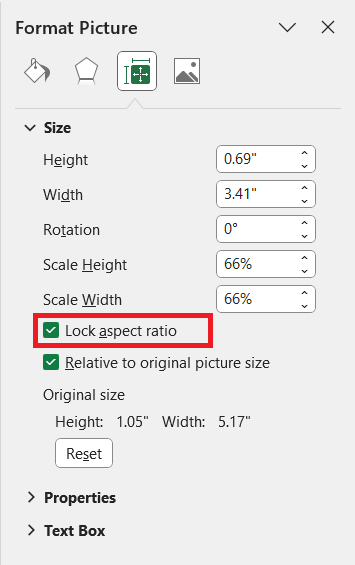
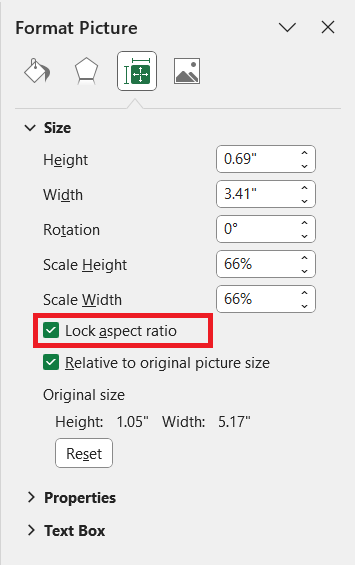
To ensure that proportions remain intact while resizing, I check the “Lock Aspect Ratio” option under the “Format Picture” dialog.
This option keeps width and height in harmony as the picture is enlarged or reduced. As a result, even as image dimensions change, they maintain their original aspect ratio, preventing distortion. This practice is especially important when precise imagery is needed, preserving all visual details and contributing to a professional presentation.
Prevent and Fix Common Image Mistakes
Even with the best intentions, Excel images can go sideways—literally and figuratively. Here’s how I fix the most common image snafus:
Mistake 1: Distorted Images
Fix: Use the “Lock Aspect Ratio” setting when resizing.
Always drag from the corners, not the sides.
Mistake 2: Images Overlapping Cells
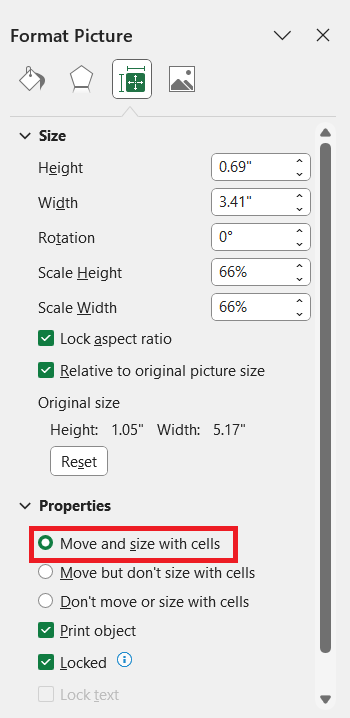
Fix: Right-click the image, select “Format Picture,” then under Properties, choose “Move and size with cells” to anchor them properly.
Mistake 3: Misaligned Images
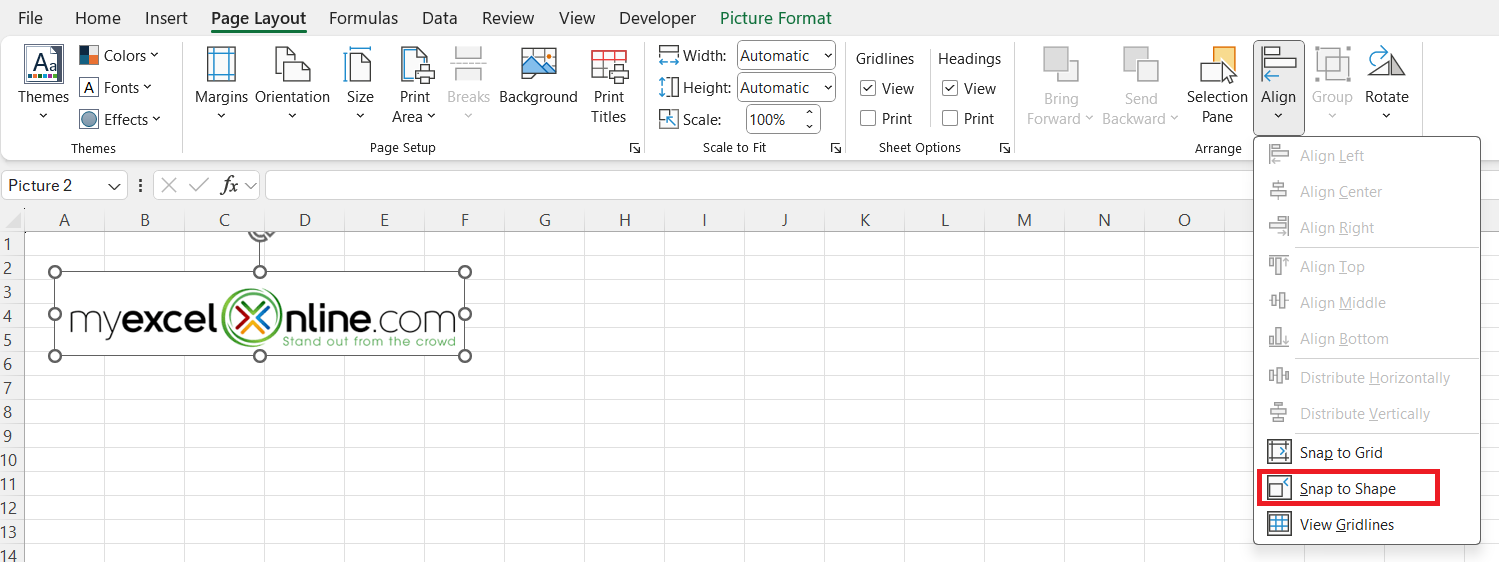
Fix: Turn on the Snap to Grid feature under Page Layout > Align, and use the arrow keys for pixel-perfect positioning.
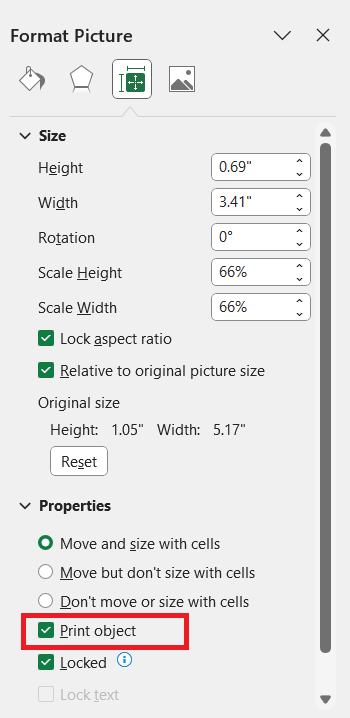
Mistake 4: Images Not Printing
Fix: Right-click the image, go to “Format Picture,” then Properties, and make sure “Print object” is checked.
Mistake 5: File Size Explosion
Fix: Compress images using Picture Tools > Compress Pictures, and avoid inserting unnecessarily high-resolution files.
Mistake 6: Incorrect Image
When I need to remove an image, I simply select it by clicking on it and pressing the “Delete” key. This swift action eliminates the image without affecting other sheet components.
FAQs
How do I set the image size?
To set the image size in Excel, click on the image to select it, then go to the “Picture Format” tab. In the “Size” group, enter the desired height and width dimensions. Alternatively, right-click the image, select “Format Picture,” and adjust size options in the Size tab for precise measurements. This ensures the image meets specific sizing requirements.
How do I resize an image without losing quality?
To resize an image in Excel without losing quality, select the image and drag the corner handles while holding the “Shift” key, which maintains the aspect ratio. This approach prevents distortion. Alternatively, access the “Picture Format” tab, enter precise height and width dimensions in the “Size” group, and ensure the “Lock Aspect Ratio” option is enabled for consistent proportions and clarity.
Can I automate the process of inserting images in Excel?
Yes, you can automate the process of inserting images in Excel using a VBA macro. By writing a script that accesses your image files and inserts them at specified locations, you can streamline the process. This is particularly useful for repetitive tasks, such as batch processing or when dealing with large datasets, ensuring consistency and efficiency in image placement.
What are the best practices for using images in Excel spreadsheets?
Best practices for using images in Excel spreadsheets include maintaining a consistent and proportional size to prevent distortion. Align images properly within cells to keep the sheet organized. Utilize the “Alt Text” feature for accessibility, ensuring that your spreadsheet is user-friendly for all audiences. Lastly, optimize image files to prevent excessive workbook size, enhancing performance and load times.
Is there a way to insert the same logo on every printed page automatically?
Yes! Use Header & Footer tools to embed the logo. Go to View > Page Layout, click in the header or footer, then choose Insert > Picture. Excel will apply the image to every printed page, perfect for branding without repeating work on every sheet
John Michaloudis is a former accountant and finance analyst at General Electric, a Microsoft MVP since 2020, an Amazon #1 bestselling author of 4 Microsoft Excel books and teacher of Microsoft Excel & Office over at his flagship MyExcelOnline Academy Online Course.


