When working with data in Excel, it’s common to notice that some rows and columns have inconsistent sizes. Uneven cells can make your spreadsheet look unprofessional and harder to read. Fortunately, Excel provides several methods to make cells the same size so your data looks clean, organized, and easy to interpret.
Key Takeaways
- You can adjust row height and column width manually or automatically.
- The Format option on the Ribbon helps you set uniform dimensions across selected cells.
- Dragging column or row borders allows for quick resizing.
- Excel Tables and formatting tools ensure consistent layouts when working with larger datasets.
- VBA macros can automate the process of making cells the same size across entire worksheets.
Table of Contents
About Cell Size in Excel
By default, Excel assigns standard dimensions to rows and columns. However, these dimensions can change if you enter larger values, apply formatting, or resize manually. When rows or columns vary in size, it can disrupt your worksheet’s layout. Setting all cells to the same size improves readability and presentation, especially for dashboards, printable reports, or forms.
How to Make Cells the Same Size in Excel
Step 1: Adjust Column Width
Select the columns you want to resize (e.g., A to D).
Go to the Home tab on the Ribbon.
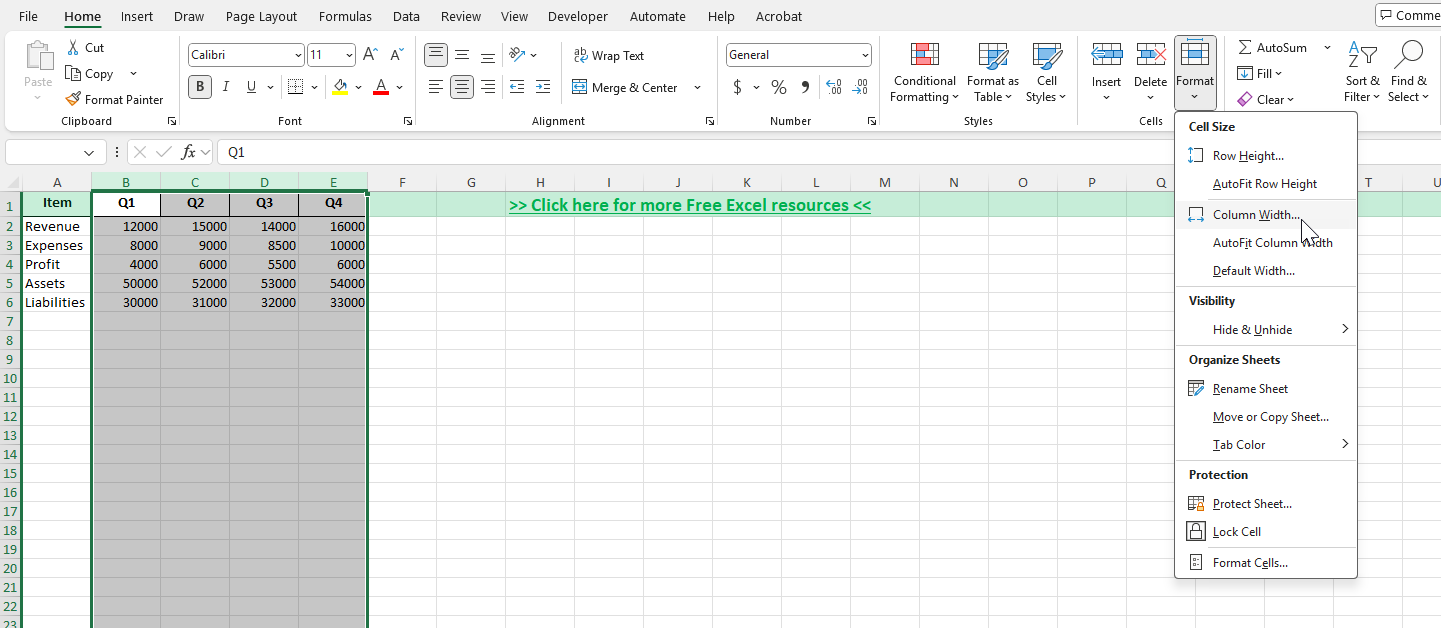
Click Format > Column Width.
Enter a number (e.g., 15) and press OK. All selected columns will now be the same width.
Step 2: Adjust Row Height
Select the rows you want to resize (e.g., 1 to 10).
Go to the Home tab.
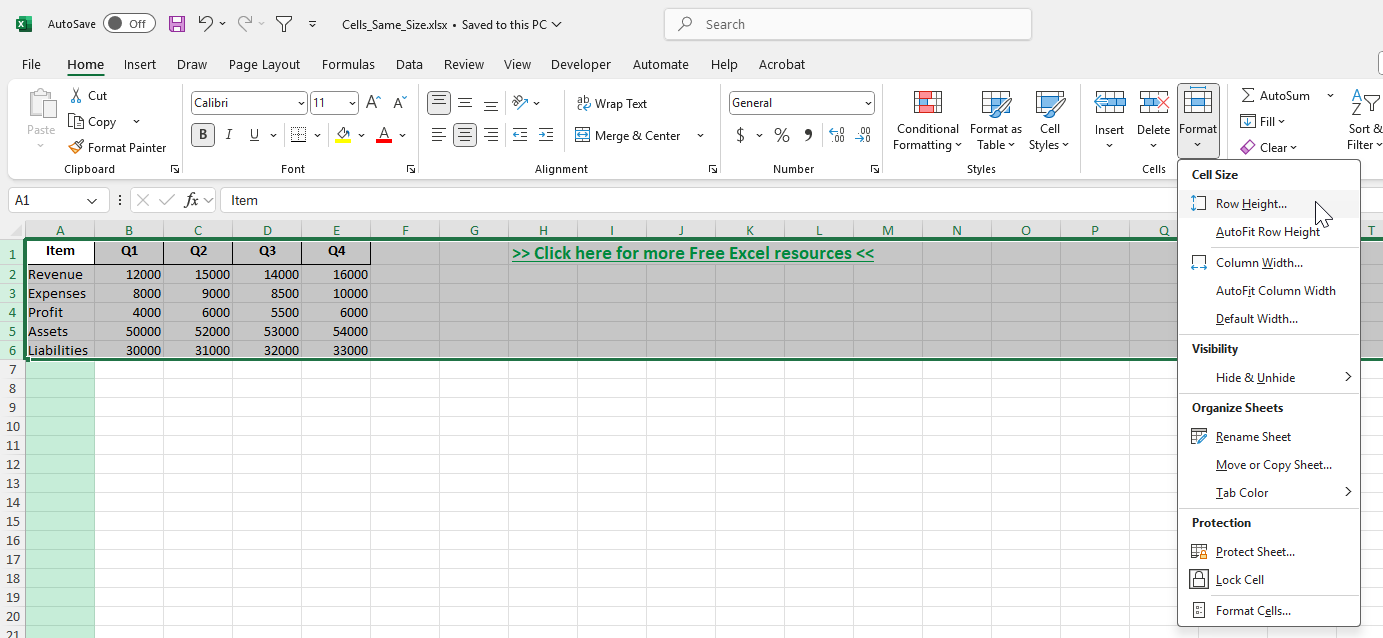
Click Format > Row Height.
Enter a number (e.g., 20) and confirm. The selected rows now share the same height.
Step 3: Use Mouse Dragging
Place your cursor between column letters (e.g., between A and B) or row numbers.
Click and drag to the desired size.
To apply this size to multiple columns or rows, select them first, then drag once. All will adjust together.
Step 4: Apply to Entire Sheet
Click the select-all button (the small triangle at the top-left corner of the grid).
Right-click a column header and choose Column Width, or a row header and choose Row Height.
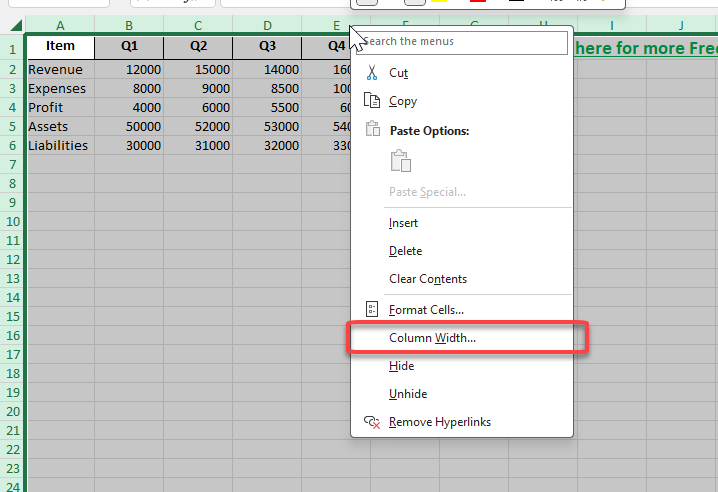
Enter the desired number. Every cell in the worksheet will now have the same size.
Common Mistakes and How to Fix Them
Not selecting the correct range: Always highlight all rows or columns you want to resize before applying changes.
Mixing manual and automatic resizing: If you double-click to auto-fit after setting a size, it may override your uniform settings.
Printing issues: Large or uneven cells can cause data to spill onto multiple pages. Always preview before printing.
Overly small sizes: Setting cells too small may cut off text or numbers. Balance readability with compact design.
Bonus Tips and Advanced Scenarios
Copy-Paste Column Widths: After setting a preferred width, use Paste Special > Column Widths to apply it elsewhere.
Use Macros for Automation: VBA can set a standard row height and column width across multiple sheets with one command.
Align with Charts and Shapes: Matching cell size with embedded objects ensures neat dashboards and reports.
Power Query Clean-Up: When importing data, clean it in Power Query, then apply uniform row/column settings after load.
Grid for Design: Square cells (same width and height) are useful when designing planners, calendars, or printable forms.
Use Cases
1) Financial Reports
Context: Balance sheets, income statements, and cash flow summaries require a structured presentation to ensure numbers are easy to compare across rows and columns.
Application: By setting all cells to the same size, accountants and financial analysts can design neatly spaced tables where each line item aligns perfectly with the corresponding values. This is especially important when preparing reports for executives or clients who expect clean formatting.
Benefit: Uniform spacing removes distractions, improves readability, and gives financial statements a professional, audit-ready appearance.
2) Dashboards
Context: Business dashboards often combine charts, pivot tables, KPIs, and interactive visuals. Misaligned cells can cause gaps or irregular spacing that reduce the clarity of the dashboard.
Application: Making cells the same size ensures that every visual element, from tables to graphs, sits neatly within the grid. Evenly sized cells are particularly valuable when aligning multiple objects on the same sheet, such as side-by-side scorecards.
Benefit: A well-aligned dashboard looks polished and professional, allowing stakeholders to focus on insights rather than being distracted by inconsistent layout.
3) Printable Forms
Context: Many businesses use Excel to create forms such as invoices, timesheets, surveys, or attendance sheets that must be printed or shared as PDFs.
Application: By setting consistent cell sizes, you can design entry boxes that look like form fields. For example, invoice line items can be neatly aligned, and timesheet rows can be evenly spaced to capture daily hours.
Benefit: Uniform cells create a clean structure that looks professional when printed, making forms easier for users to complete and reducing errors in manual entry.
4) Project Planning
Context: Gantt charts, timelines, and scheduling sheets depend on precise alignment where each column might represent a day, week, or month.
Application: By making cells square (same row height and column width), project planners can design a calendar-like grid. This ensures tasks, milestones, and dependencies line up perfectly with their time periods.
Benefit: Uniform cells improve accuracy in visual planning and give project teams a clear timeline view that can be shared or printed for updates.
5) Data Entry Sheets
Context: When staff or students are asked to input data, consistency in layout makes the process smoother and less prone to mistakes.
Application: Neatly sized cells can act as entry boxes for names, numbers, or codes. For example, HR teams might create staff attendance logs, while researchers could design survey data collection sheets.
Benefit: Clear, consistent entry spaces make forms user-friendly, reduce confusion about where to type, and ensure datasets are clean for later analysis.
FAQ
Can I make cells square in Excel?
Yes. Adjust both row height and column width to the same proportional value. For example, width 2.14 with height 15 produces nearly square cells.
Do changes apply to new worksheets?
No. Each worksheet has its own default sizes. You can set templates if you want consistent formatting across new files.
What’s the default size for Excel cells?
Column width defaults to 8.43 and row height to 15, but these vary with font and zoom settings.
How do I reset cell sizes?
Select the range, then choose Format > Row Height or Column Width, and enter the default values.
Can I lock cell sizes?
Not directly, but by protecting the worksheet and restricting editing, you can prevent users from resizing rows and columns.

John Michaloudis is a former accountant and finance analyst at General Electric, a Microsoft MVP since 2020, an Amazon #1 bestselling author of 4 Microsoft Excel books and teacher of Microsoft Excel & Office over at his flagship MyExcelOnline Academy Online Course.


