Excel is a powerhouse for analyzing, organizing, and summarizing data—but what about when you need to share your insights offline? Printing Pivot Tables is not just about hitting Ctrl+P and hoping for the best. You need control over pagination, formatting, and readability so your data looks professional on paper. In this guide, we’ll explore how to Print Excel Pivot Tables on two pages effectively, ensuring clarity whether you’re preparing a business report, academic project, or client presentation.
Key Takeaways:
- Pivot Tables can be customized for clean and structured printing.
- Excel allows you to control page breaks for better readability.
- Row labels can be repeated across pages for consistency.
- Setting a print area ensures only the necessary data gets printed.
- Professional-looking printouts improve data communication.
Download this workbook to follow along with this tutorial on how to print Pivot Table on two pages:
Table of Contents
Why Printing Pivot Tables the Right Way Matters
When you’re working with Pivot Tables, everything looks neat and organized on screen. But once you hit print, chaos can occur—columns may spill over, row labels might vanish, or data may get split oddly between pages. A poorly printed Pivot Table not only wastes paper but also confuses your audience. By learning how to properly set print areas, add page breaks, and control layout, you ensure your data tells a clear story, even in print.
Preparing Your Pivot Table for Printing
Cleaning Up Your Pivot Table Before Print
Before worrying about page setup, make sure your Pivot Table itself is in good shape:
- Remove unnecessary fields: Extra columns or rows may clutter the printout.
- Apply clear formatting: Use bold headers, alternating row colors, or borders to make the data easier to follow.
- Adjust column widths: Fit data neatly within the visible print margins.
- Sort and filter wisely: Printing all raw data may overwhelm readers. Instead, highlight only the data you need.
Good preparation makes the printing process smoother and avoids rework.
Print Excel Pivot Table on two pages
Here is our Pivot Table that we want to print on 2 separate pages. Say for page 1, we want the years 2012 and 2013, then on page 2, we are going to show the year 2014.

STEP 1: Let us select the entire Pivot Table. Go to PivotTable Analyze > Actions > Select > Entire PivotTable

STEP 2: Go to Page Layout > Page Setup > Print Area > Set Print Area
Our print area based on our Pivot Table is now set.

STEP 3: Select the 2014 row then go to Page Layout > Page Setup > Breaks > Insert Page Break

STEP 4: Now with our page break all set, go to PivotTable Analyze > PivotTable > Options
We will make sure that the row labels are shown on every printed page

Go to Printing and check Repeat row labels on each printed page. Click OK

STEP 5: Go to File > Print
You can now see the first page showing the years 2012 and 2013! Click on the next page.

On the second page, you will see the year 2014 because that is where we placed the page break.

Enhancing Readability in Printed Reports
Using Page Layout Tools
Excel’s Page Layout View is your best friend when printing Pivot Tables. It lets you visualize how your data will look on actual paper before you hit “Print.” Some tricks include:
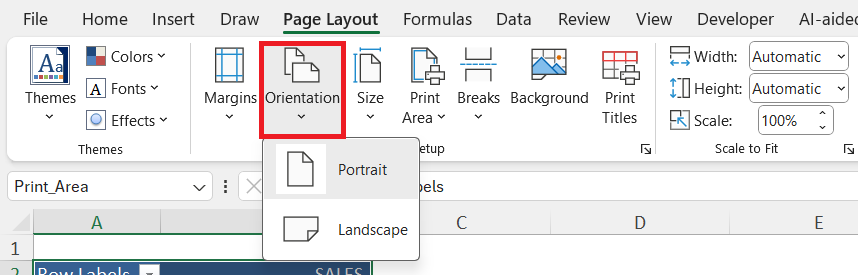
- Orientation: Switch between Portrait and Landscape depending on the table width.
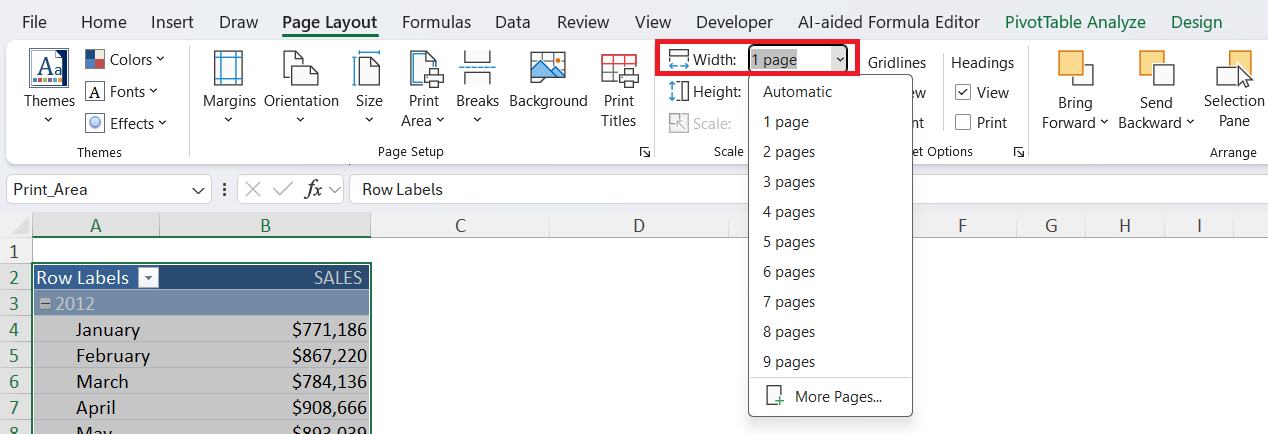
- Scaling: Use “Fit All Columns on One Page” sparingly to prevent tiny, unreadable text.
- Headers & Footers: Add titles, dates, or page numbers for a professional appearance.
A polished printout always leaves a stronger impression.
Leveraging Advanced Printing Options
For large reports, Excel’s advanced print settings can save headaches:
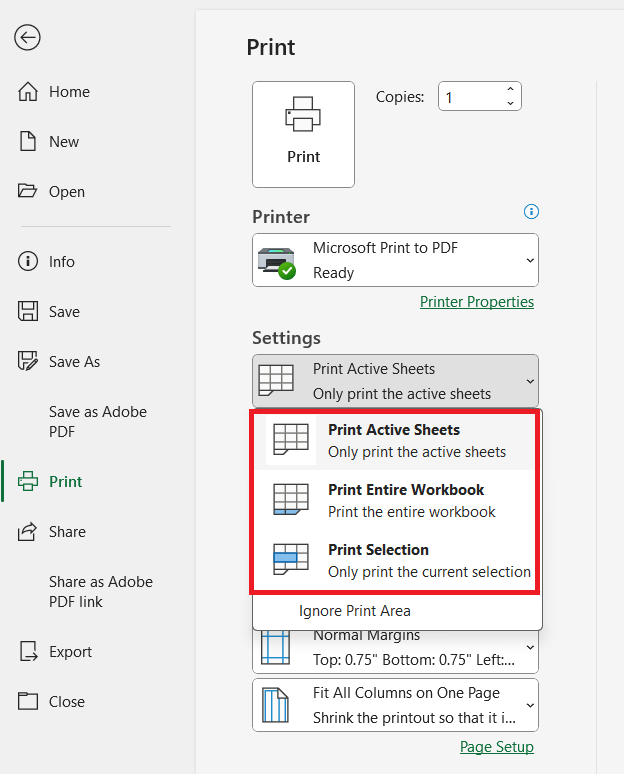
- Print Selection vs. Entire Workbook: Print only what’s needed.
- Draft Quality Mode: Print faster drafts without wasting ink.
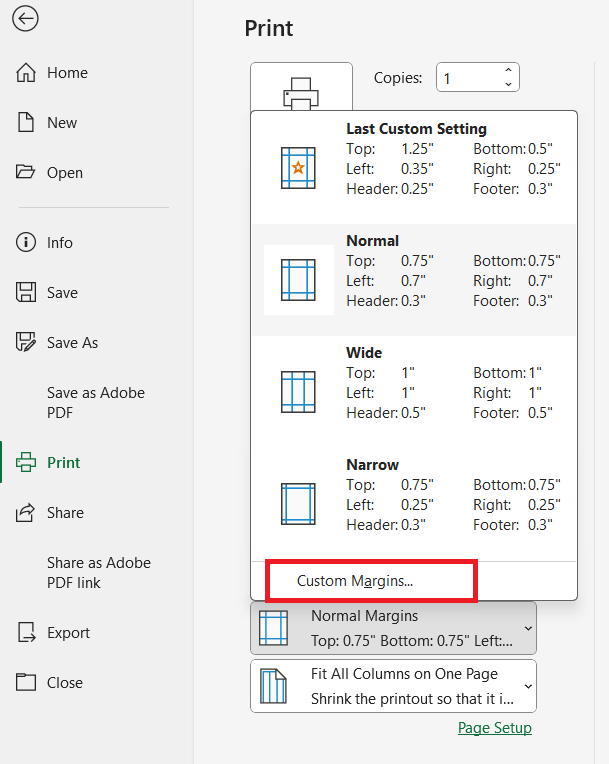
- Custom Margins: Give your Pivot Table breathing space.
- Print to PDF: Share digital versions with consistent formatting.
These features transform your Pivot Table printouts from messy spreadsheets into professional-grade reports.
FAQs
Why does my Pivot Table look different when I print it compared to how it looks on screen?
When you print a Pivot Table, Excel applies page margins, scaling, and paper size settings, which can shift how your table appears. Wide tables may get cut off or pushed onto additional pages, creating a messy layout. If row or column labels aren’t set to repeat, subsequent pages can lose context. Setting a print area and checking print preview helps align your expectations with the actual output. Using Page Layout View is the best way to fix formatting before printing.
How can I print my Pivot Table on exactly two pages?
To split your Pivot Table neatly, you need to insert a manual page break. First, select your Pivot Table and set the print area under Page Layout > Print Area > Set Print Area. Then choose where you want to split the data—for example, after 2013—and go to Page Layout > Breaks > Insert Page Break. This ensures the first set of years prints on one page, and the next set appears on the following page. Preview under File > Print to confirm the split looks correct.
How do I make sure my row labels don’t disappear on the next printed page?
By default, Excel doesn’t repeat row or column labels across printed pages, making multi-page Pivot Tables hard to read. To fix this, go to PivotTable Analyze > Options > Printing and enable Repeat row labels on each printed page. For column headers, use Page Layout > Print Titles and set rows to repeat at the top. This way, each page retains the necessary context for readers. Without this step, printed reports can quickly become confusing.
What’s the best way to make my Pivot Table printouts more professional-looking?
Professional printouts rely on readability and structure. Start by cleaning up your Pivot Table—remove unnecessary fields, format headers, and align columns neatly. Use Page Layout Tools to adjust orientation, margins, and scaling so the data fits comfortably on the page. Adding headers, footers, and page numbers elevates your report, especially in business or academic settings. A well-structured printout not only looks polished but also communicates data more effectively.
Can I share my Pivot Table print layout digitally instead of on paper?
Yes—Excel allows you to “print” to PDF, which preserves your layout exactly as it would appear on paper. This option is available under File > Print > Microsoft Print to PDF (or a similar option, depending on your system). It’s especially useful when sharing reports via email, since the recipient sees the Pivot Table exactly as you formatted it. Unlike Excel files, PDFs don’t risk formatting issues when opened on different devices. This makes PDF export a reliable choice for professional reporting.

Bryan
Bryan Hong is an IT Software Developer for more than 10 years and has the following certifications: Microsoft Certified Professional Developer (MCPD): Web Developer, Microsoft Certified Technology Specialist (MCTS): Windows Applications, Microsoft Certified Systems Engineer (MCSE) and Microsoft Certified Systems Administrator (MCSA).
He is also an Amazon #1 bestselling author of 4 Microsoft Excel books and a teacher of Microsoft Excel & Office at the MyExecelOnline Academy Online Course.


