Key Takeaways
- Microsoft Teams cache stores temporary data to improve performance.
- A large cache can sometimes slow down the application.
- Clearing the cache can fix syncing and display issues.
- Teams automatically rebuilds the cache after it is cleared.
- The process is different on Windows and Mac devices.
Table of Contents
Introduction to Microsoft Teams Cache Clutter
What is the Microsoft Teams Cache?
The Microsoft Teams cache is a dedicated storage space used by the Teams application to quickly access frequently used data. It plays a fundamental role in the performance of the app by storing temporary files such as user preferences, chat history, profile pictures, and document previews. With this data on hand, Teams can provide a more seamless and speedier user experience since information is retrieved from local storage rather than downloaded from the server each time.
Why is Clearing the Cache Important?
- Improves performance by removing unnecessary temporary files.
- Shows the latest data and updates correctly.
- Fixes sync issues such as missing messages or files.
- Resolves display problems caused by corrupted cache files.
- Protects privacy on shared or public computers.
- Frees up storage space used by old cache data.
How to Clear Cache on Different Platforms
On Windows
STEP 1: Make sure that Microsoft Teams is completely closed before proceeding.
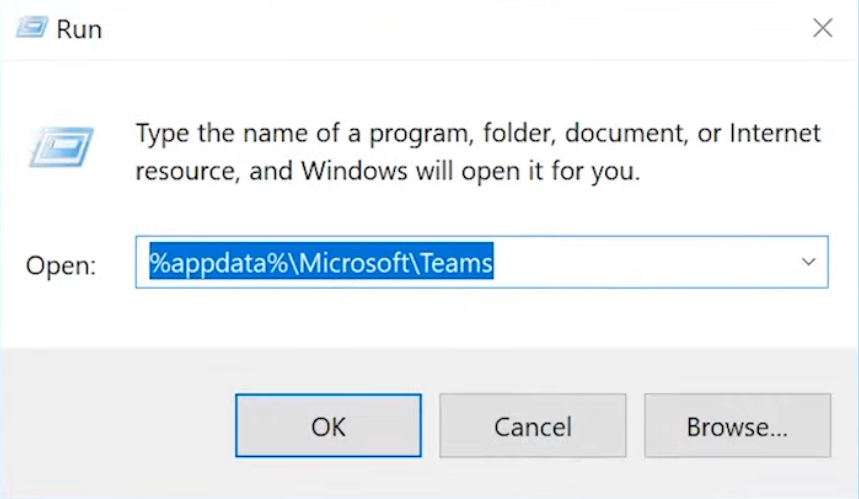
STEP 2: Press Windows Key + R to open the Run dialog box. Type %appdata%\Microsoft\teams and press Enter.
STEP 3: Within the Teams folder, select all files and folders except the Downloads folder and delete them.
You can do this by pressing Ctrl + A to select all files and folders, then press Delete.
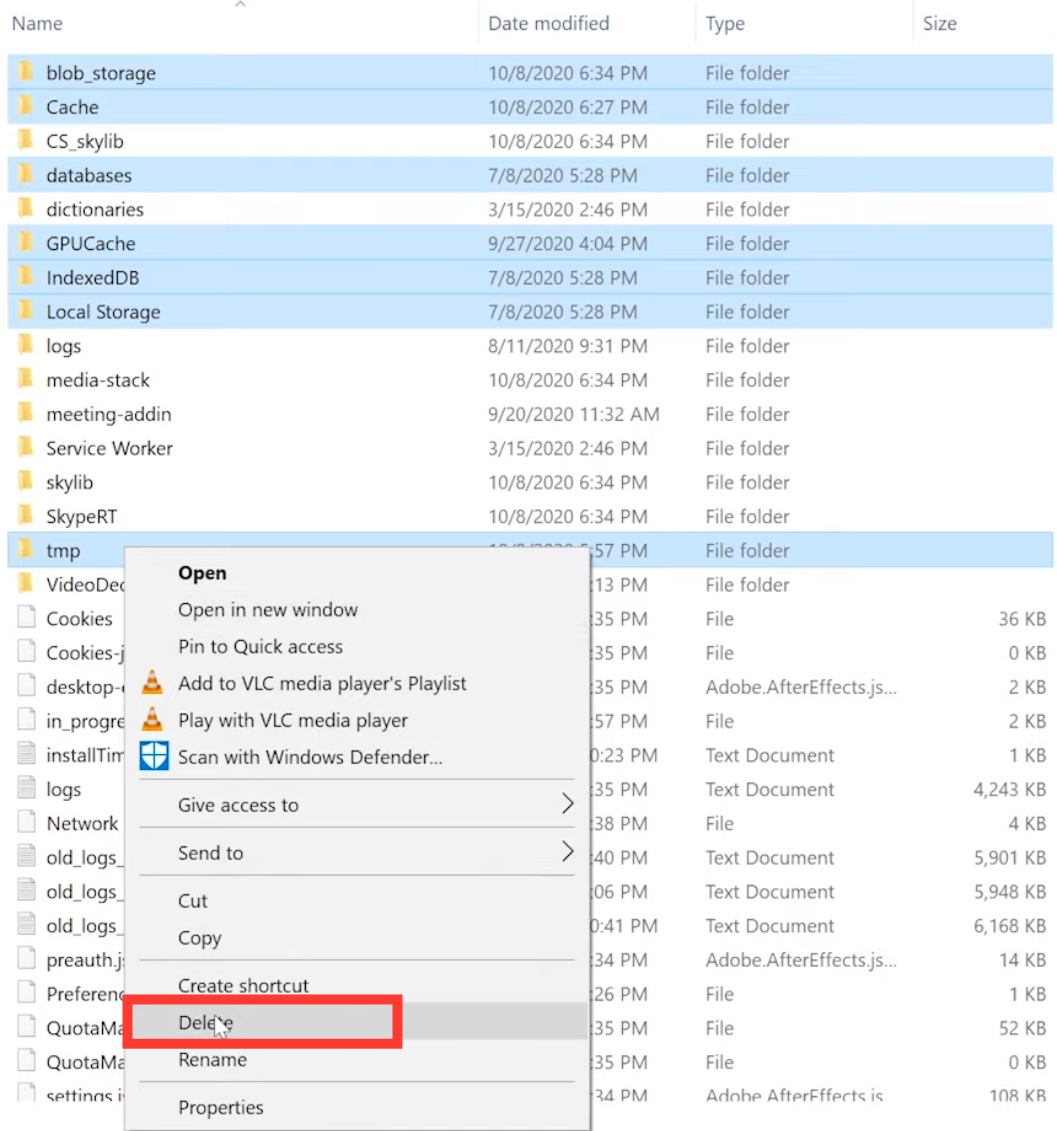
STEP 4: In the same Run dialog box (Windows Key + R), type %localappdata%\Microsoft\Teams and press Enter. Again, select all files and folders except the Cache folder and delete them.
STEP 5: After clearing the cache, restart Microsoft Teams. The application will recreate necessary cache files as needed.
On Mac
STEP 1: Before proceeding, make sure Microsoft Teams is not running. Right-click the Teams icon in the Dock and then select “Quit”, or use the Command + Q shortcut to exit the application completely.
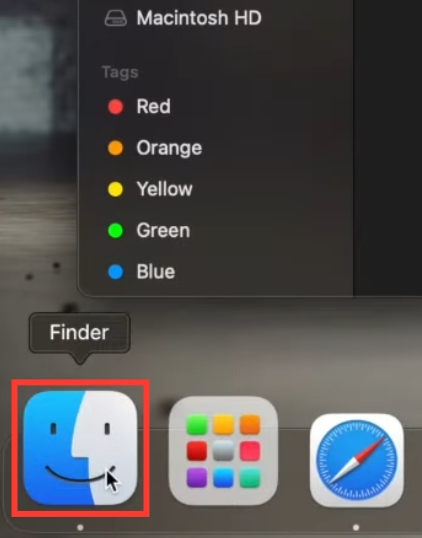
STEP 2: Open a Finder window, click “Go” in the menu bar at the top of the screen, and click on “Go to Folder…” from the dropdown menu.
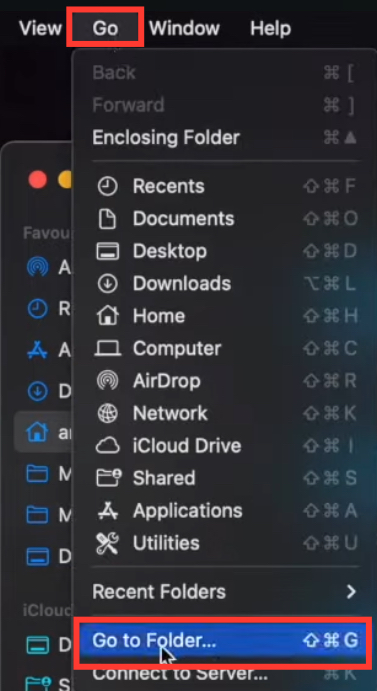
STEP 3: Type ~/Library/Caches into the dialog box that appears and click “Go” to be taken to the Caches directory.
STEP 4: Look for a folder named com.microsoft.teams. Once found, right-click on it and select “Move to Trash” to delete this cache folder.
STEP 5: For a thorough clean-up, you may also need to navigate to ~/Library/Application Support/Microsoft/Teams. In this location, remove any cache-related files or folders you find, again moving them to the Trash.
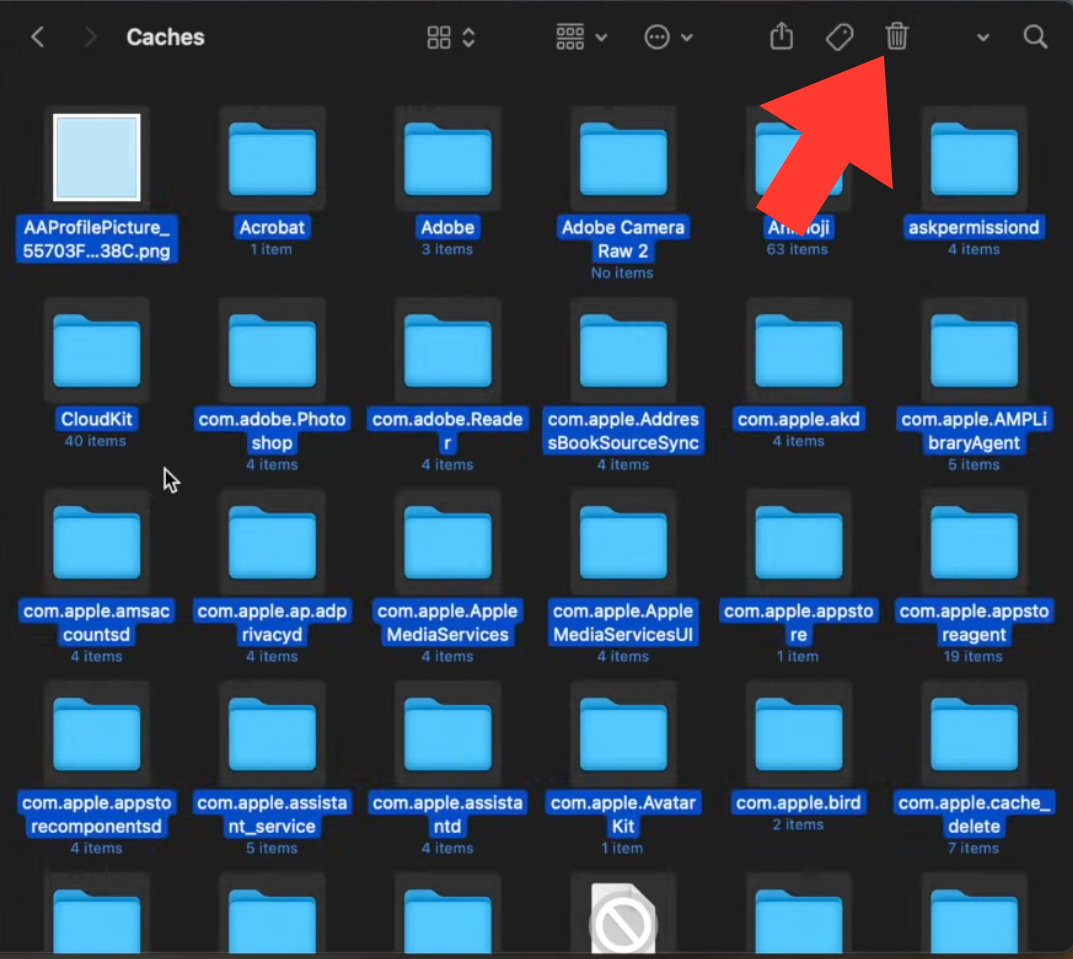
STEP 6: Control-click or right-click the Trash icon in your Dock and select “Empty Trash” to permanently delete the files you’ve placed there. Ensure that you are only deleting files related to Teams and nothing else you may need to keep.
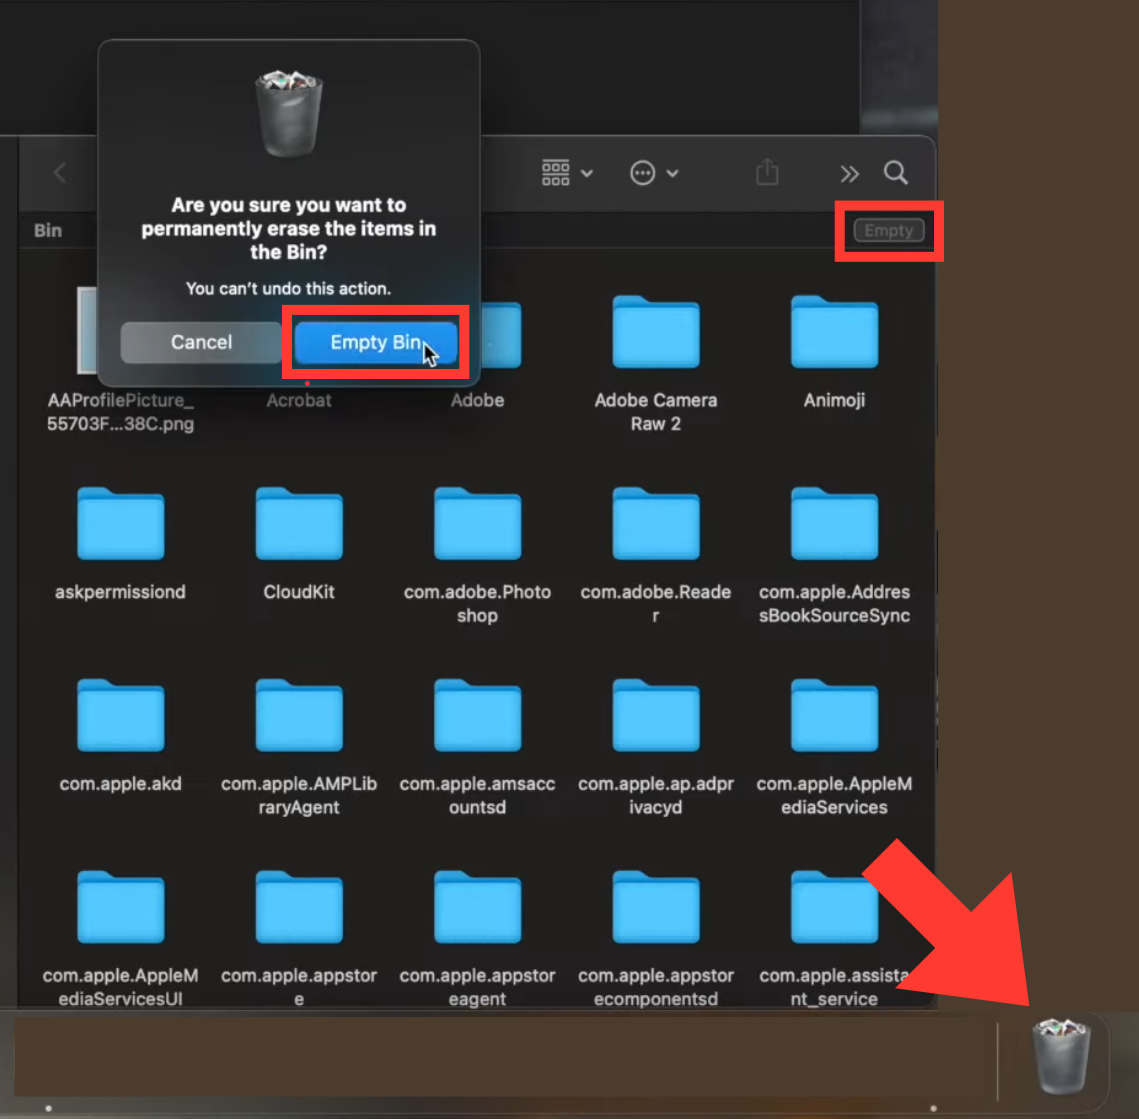
STEP 7: Open the Teams application once more from your Applications folder or Launchpad, and allow it to generate a fresh cache.
FAQs
1. Will clearing the Teams cache delete my chats?
No. Your chats and files are stored on Microsoft servers and will not be deleted.
2. How often should I clear the Teams cache?
You can clear it whenever Teams becomes slow or starts showing errors.
3. Do I need to sign in again after clearing the cache?
In some cases, Teams may ask you to sign in again.
4. Is clearing the cache safe?
Yes. Teams will recreate the required cache files automatically.
5. Can clearing the cache fix Teams not loading properly?
Yes. It often resolves loading, syncing, and display problems.

John Michaloudis is a former accountant and finance analyst at General Electric, a Microsoft MVP since 2020, an Amazon #1 bestselling author of 4 Microsoft Excel books and teacher of Microsoft Excel & Office over at his flagship MyExcelOnline Academy Online Course.

 30 Days - Full Access