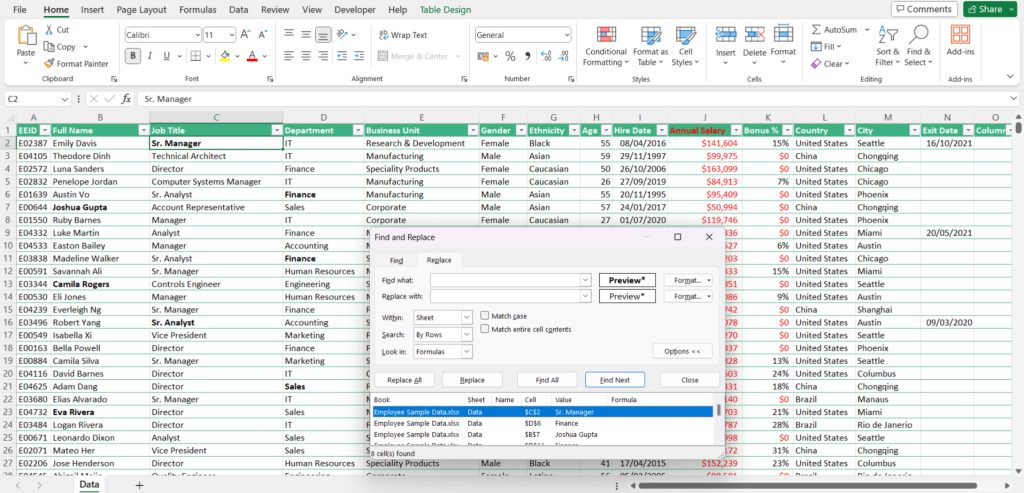
Does scrolling through mountains of Excel data sound like your worst nightmare? Before resigning to carpal tunnel syndrome, master the advanced features of Excel‘s Find and Replace functionality.
Far beyond just a basic search, Find and Replace has little-known superpowers that can transform how you wrangle data. Once you learn expert tricks for harnessing this tool to its fullest potential, menial editing tasks become a thing of the past.
Table of Contents
- Customize Your Search Criteria
- Modify Formulas Minus Side Effects
- Overhaul Formatting in Bulk
- Locate Cells Matching Your Format Preset
- Find Cells Mimicking a Cell’s Format
- Restyle Entire Data Sets with Just a Few Clicks
- Remove Line Breaks in Bulk Across Cells
- Select and Spotlight Search Matches
- Conclusion
Let us look at each of these methods in detail.
Download the Excel Workbook below to follow along and understand How to Find and Replace in Excel – download excel workbookFind-and-Replace.xlsx
Customize Your Search Criteria
Tired of only being able to search for one literal text string at a time? Amp up Find and Replace by appending special wildcard characters to your search queries.
1. Open your Excel spreadsheet.
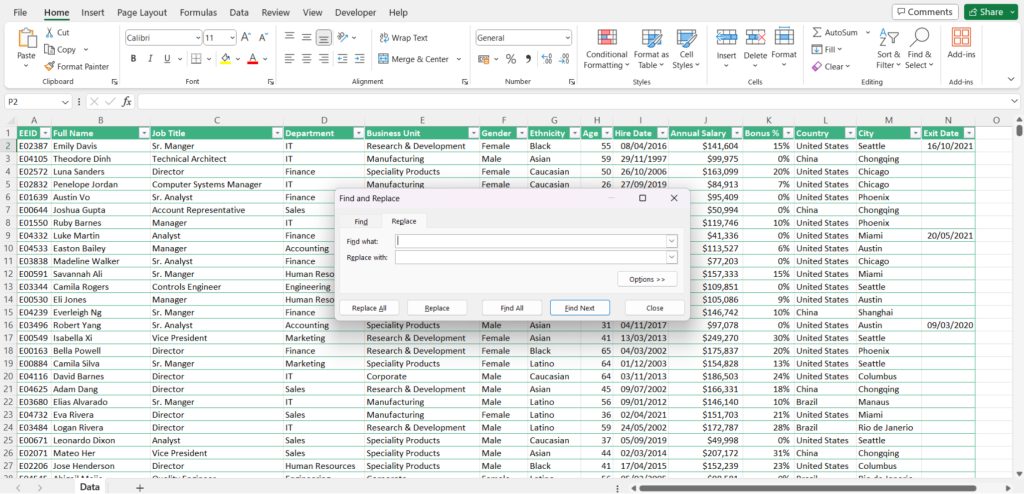
2. To search for text in a more flexible way, press CTRL+H. This opens Excel’s Find and Replace dialog box.
3. In the Find What field within the dialog box, type the text you want to search for.
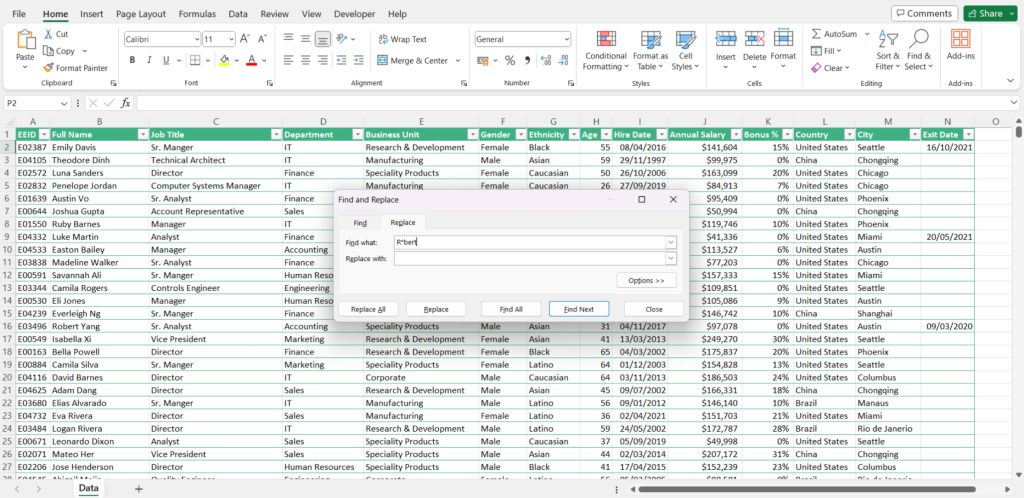
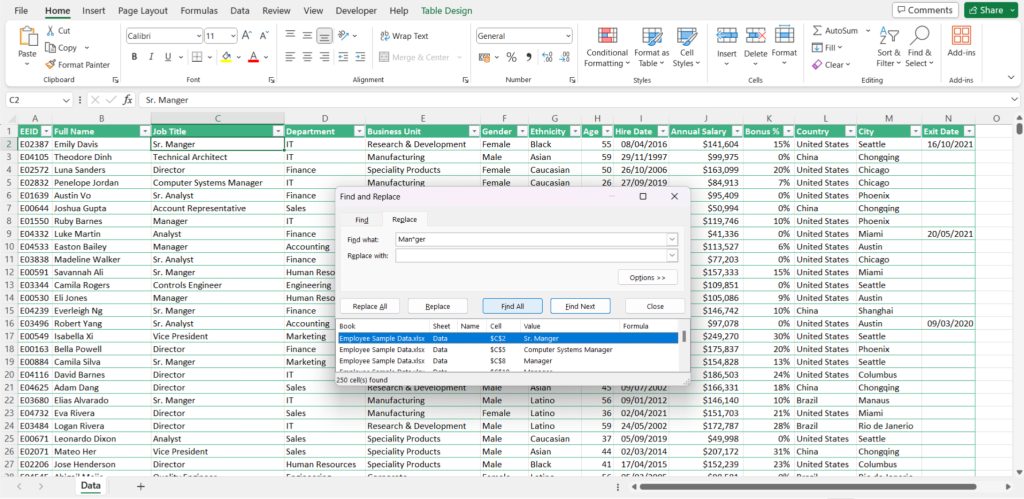
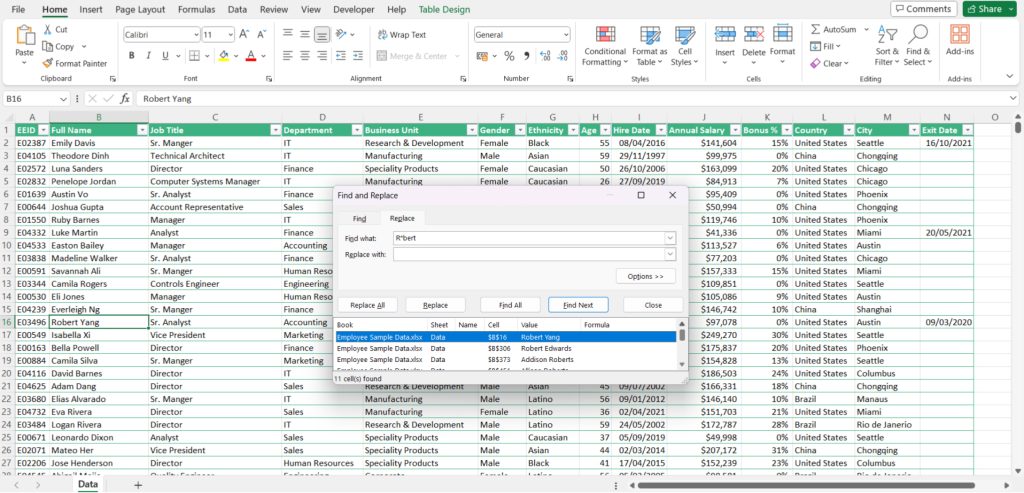
4. Now, if you want to make your search more versatile, add a question mark (?) or asterisk (*) at the beginning, middle, or end of your text.
5. If you use “?” in your search, it will match any single character in that position.
6. If you use “*” in your search, it will match any sequence of characters.
7. This wildcard feature allows you to find a broader range of values, making your search more flexible and efficient.
For instance, let’s say you type “R?ch*” in the “Find What” field. This search would match values like “Rich,” “Reecha,” “Rochford,” and so on. This method expands your search capabilities, saving you from searching for one specific text at a time. Once you’ve entered your search criteria, click “Replace All” or “Find All” to perform the search operation.
Modify Formulas Minus Side Effects
Just as formulas underpin many critical Excel reports, errors within formulas can bring workflows screeching to a halt. Rather than meticulously rewriting every formula after outdated logic changes, use Find and Replace to substitute parts of equation strings safely.
1. Use Find and Replace to update formulas without rewriting them entirely to prevent errors in critical Excel reports.
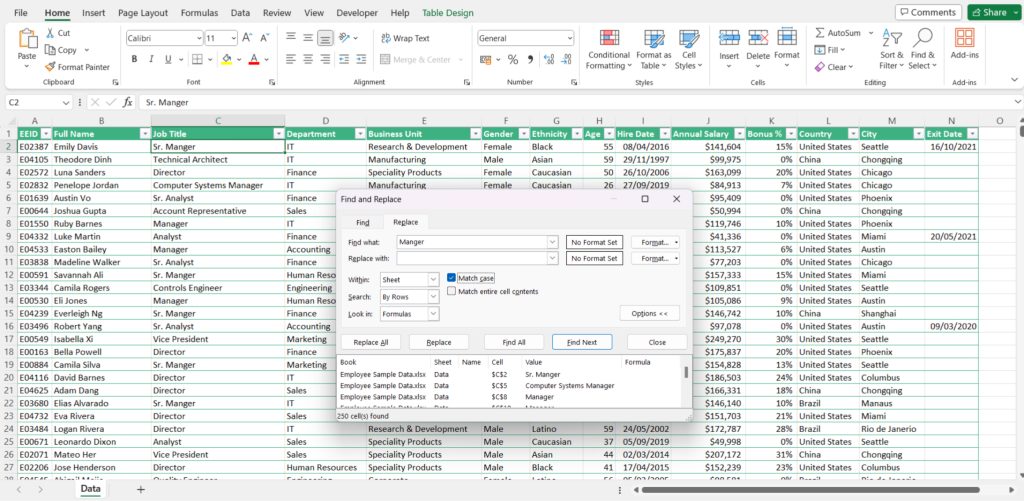
2. Press CTRL+H to access Excel’s Find and Replace dialog box.
3. In the Find What field, enter the part of the formula you want to replace.
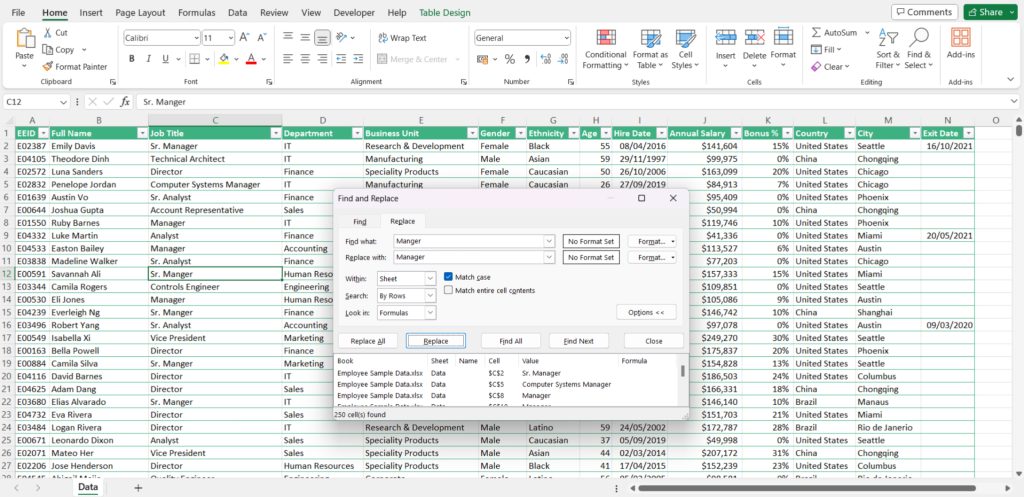
4. Check the Match Case option if you want to replace only the exact text, variables, or cell references. This helps avoid replacing similar but distinct elements.
5. For precise control, click Find All instead of Replace All. This allows you to review each instance before making changes.
6. Review the identified instances and ensure they are the ones you want to replace.
7. Accept the changes only for the instances you’ve verified by clicking Replace or skip if it’s not the right match.
No unexpected surprises down the road!
Overhaul Formatting in Bulk
Inheriting a workbook after someone leaves the company? Find rogue cells sticking out like sore thumbs because of wonky colors, fonts, borders, or number formats.
1. Open the Excel workbook that you’ve inherited from a former colleague.
2. Press CTRL+H to open Excel’s Find and Replace dialog box to find and fix cells with inconsistent formatting.
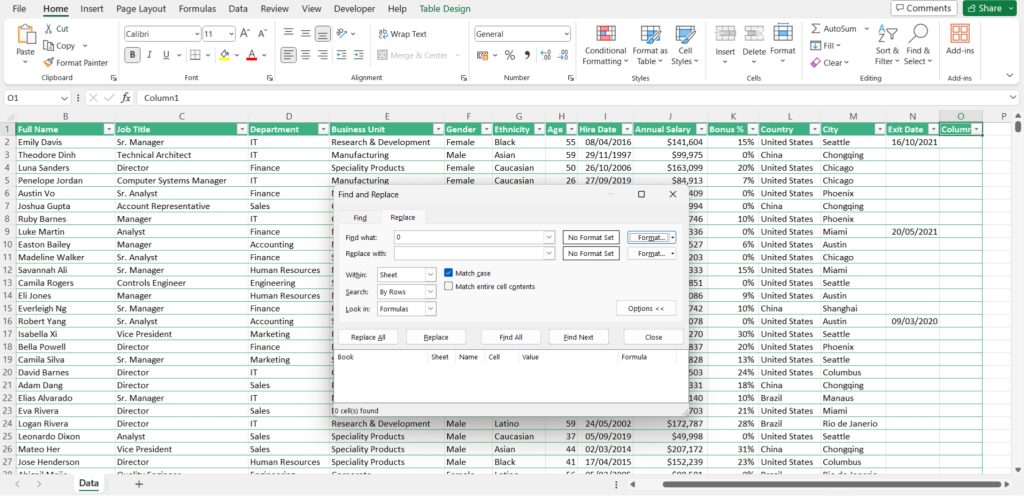
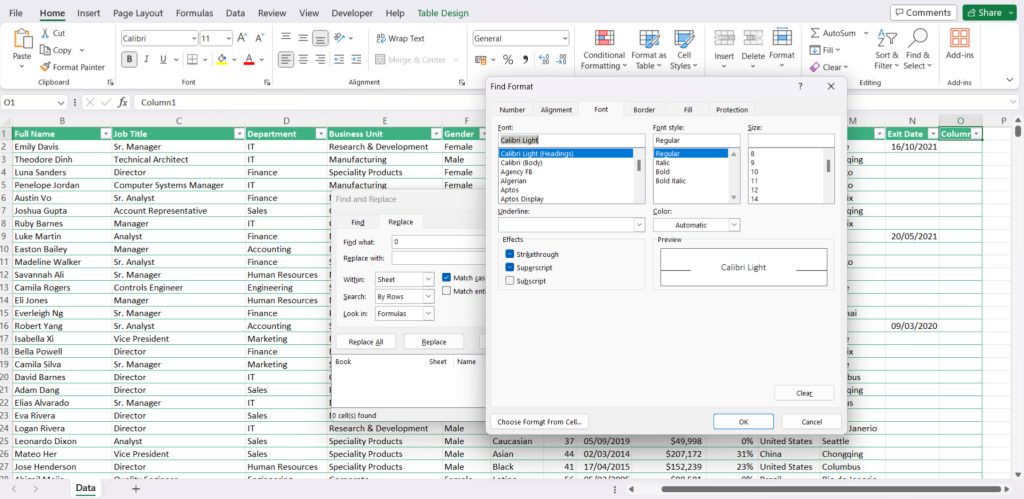
3. Don’t enter any specific text in the Find What field. Instead, focus on formatting. Click the Format button below Find What to specify the type of formatting you want to locate (Number, Font, Border, etc.).
4. Under Replace With, select the new uniform formatting you want to apply to the identified cells.
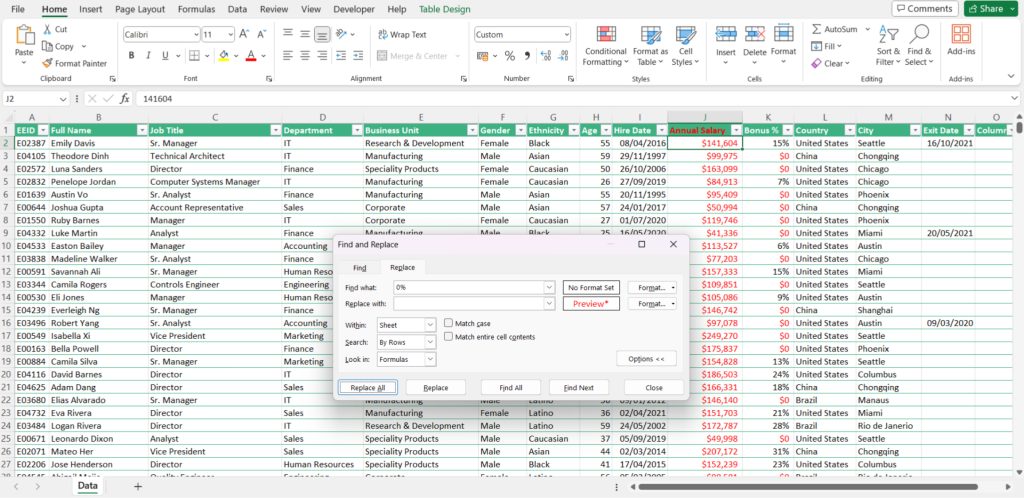
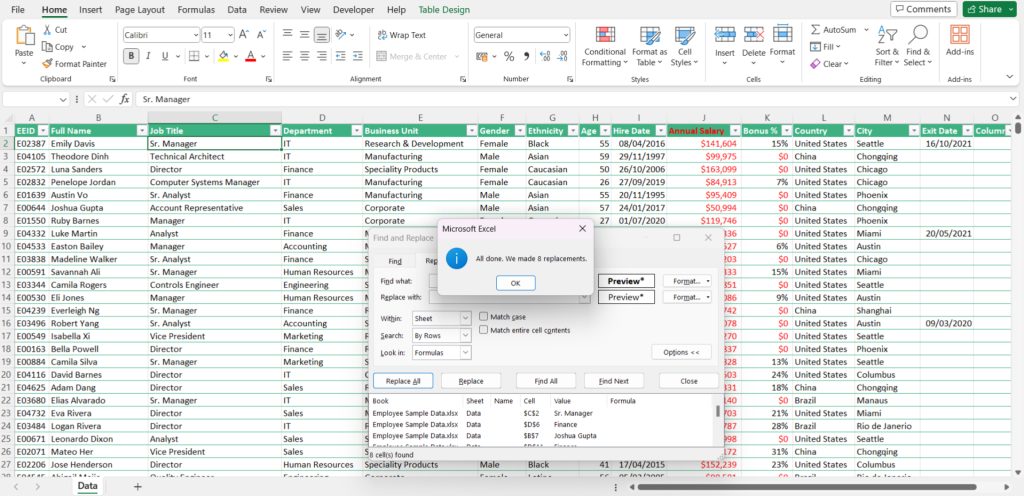
5. Click Replace All. Excel will swiftly find and reformat all cells that match your specified formatting criteria.
Enjoy the efficiency as Excel instantly updates the formatting of multiple cells, saving you the hassle of reformatting them individually.
Locate Cells Matching Your Format Preset
Need to quickly identify all cells sharing a certain format across scattered data sets? Excel’s Find and Replace makes it easy to scan entire worksheets and extract matching cells.
1. Press CTRL+F to open the Find and Replace dialog box.
2. Click the Options tab to expand advanced search settings.
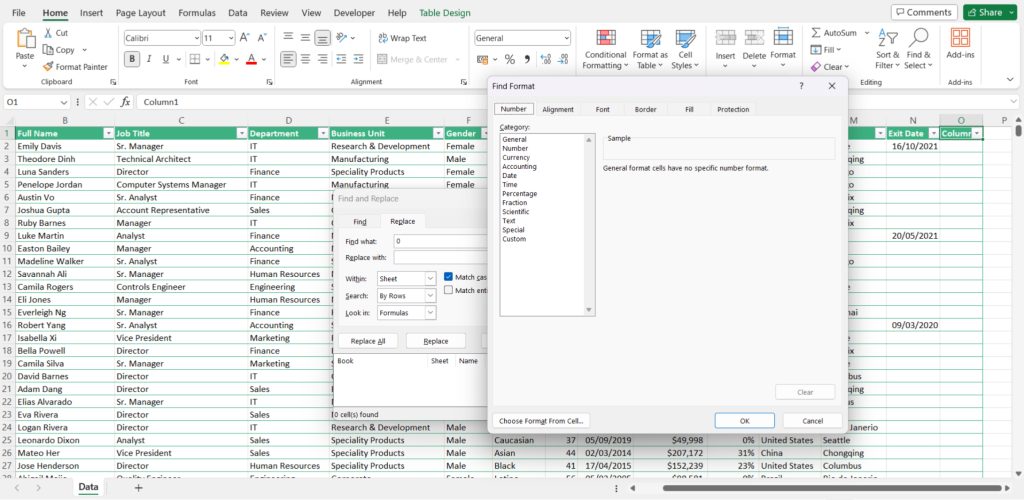
3. In the upper right Find Format area, click the Format button.
4. In the Find Format dialog, configure your desired format criteria under categories like Font, Border, Number, Alignment – whatever elements you want to locate.
5. Click OK to save the preset. Excel displays a preview of the selected format.
6. Click Find All. Excel instantly scans the entire worksheet, returning/selecting only cells matching your custom format.
Find Cells Mimicking a Cell’s Format
If you want to find cells that already match the existing format of a particular cell:
1. In Find and Replace dialog, clear any criteria under Find What.
2. Next to Format, choose Select Format from Cell.
3. Click on your worksheet cell with the target format to load its style.
4. Click Find All as Excel searches for perfect format matches.
Tip: If a format-based search misses values you know should qualify, click the adjacent Clear Find Format button first. This wipes previous conflicting criteria.
Restyle Entire Data Sets with Just a Few Clicks
Did you inherit a workbook with haphazard formatting after someone leaves? Cells stuck out like a sore thumb where someone manually bolded, changed text colors, and played around with borders?
No need to painfully reformat each cell back to normal. Find and Replace lets you implement wholesale formatting changes in one fell swoop!
1. Open the Excel workbook with the haphazard formatting that you inherited.
2. Press CTRL+H to open Excel’s Find and Replace dialog box to fix the formatting inconsistencies quickly.
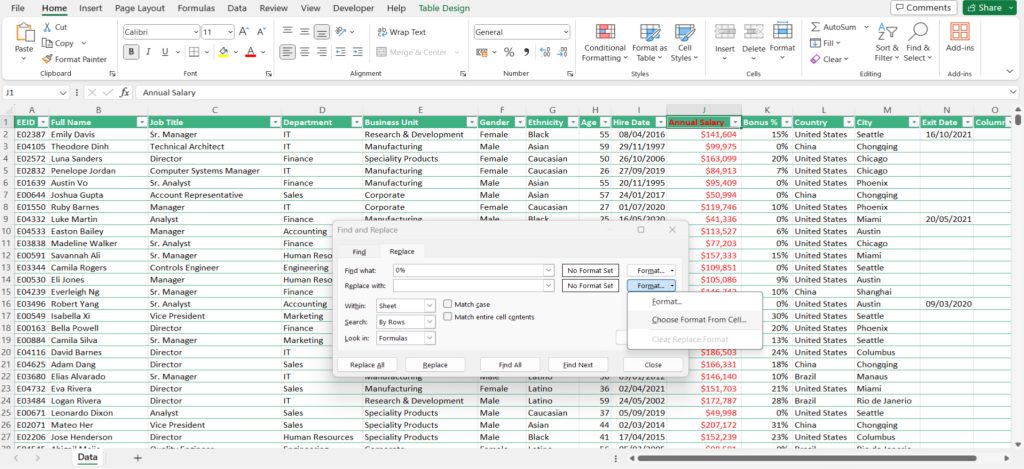
3. Skip the text fields and click Format under Find What. Choose the formatting style you want to locate (bold, text color, borders, etc.).
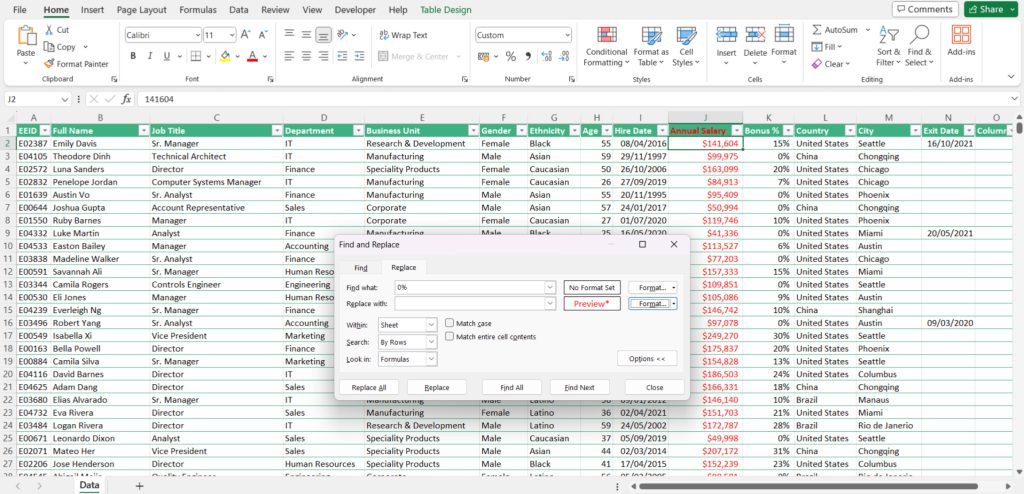
4. Under Replace With, click Format again and select the uniform style you want to implement everywhere.
5. Click Replace All. Excel will instantly apply the replacement formatting to all cells that match the specified rogue formatting style.
Remove Line Breaks in Bulk Across Cells
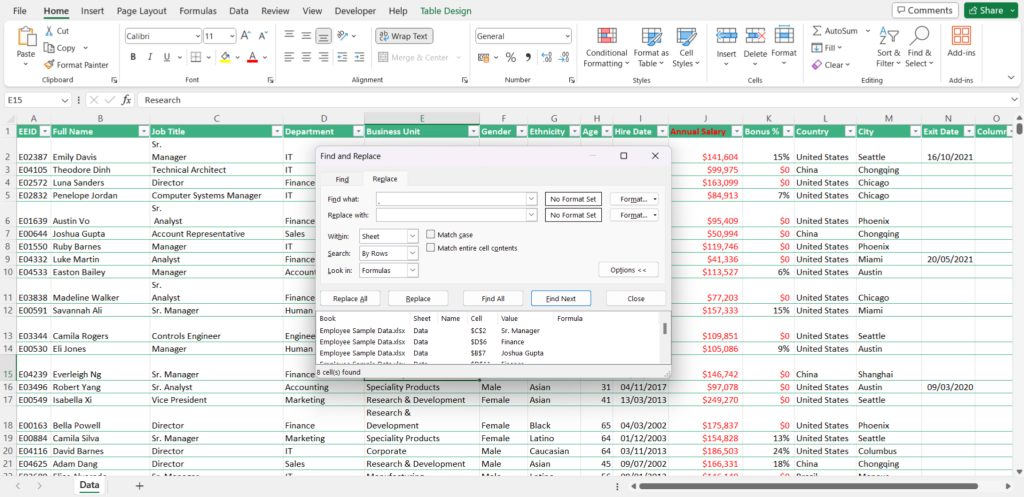
What happens when you need to remove hundreds of line breaks someone mistakenly inserted inside cells using ALT+Enter? The process of removing these one by one via manual deletion can be utterly tedious. However, Find and Replace makes this task a total breeze!
1. Open your Excel spreadsheet with cells containing line breaks that you want to remove.
2. To efficiently remove line breaks, press CTRL+H to open Excel’s Find and Replace dialog box.
3. In the Find What field, type CTRL+J. This special character combination represents line breaks.
4. Leave the Replace With field blank.
5. Click Replace All. Excel will scan all selected cells, identify every instance of CTRL+J (line breaks), and remove them instantly.
Select and Spotlight Search Matches
Want to quickly visualize where specific entries are scattered across a dense worksheet? Excel allows swift highlighting of all instances in just a few clicks. Here is how to select and highlight found values:
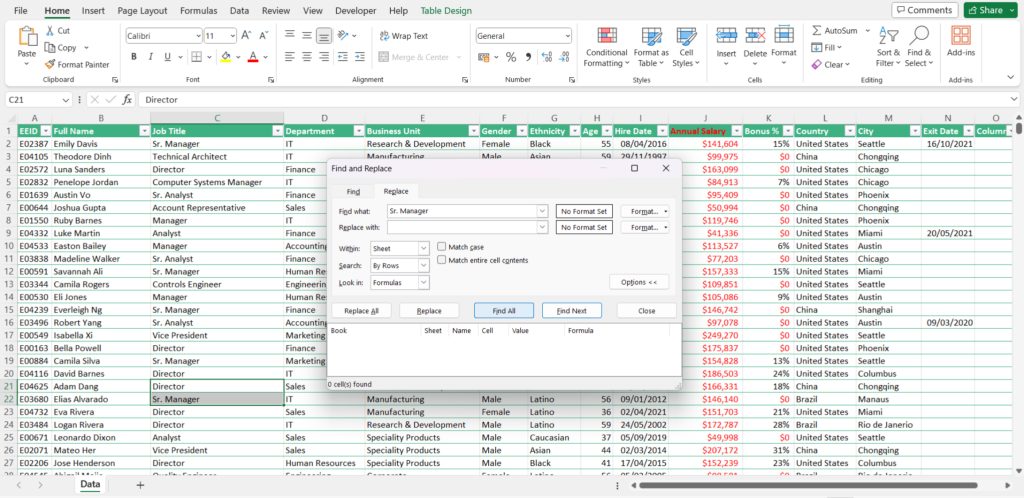
1. Hit CTRL+F to open the Find and Replace dialog box.
2. In the Find What field, enter the text or value you want to locate.
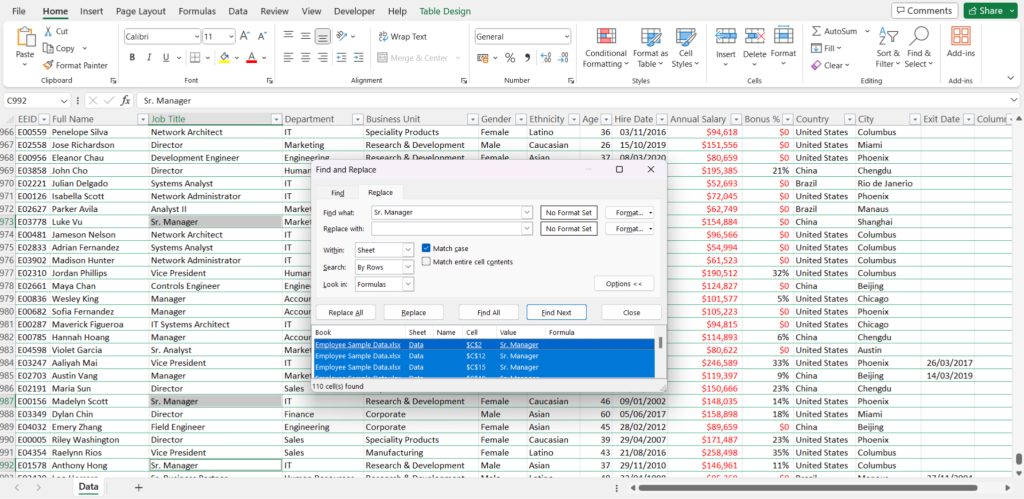
3. Click the Find All button. Excel pops up a results box listing all matching cells.
4. Click anywhere inside the results box, then press CTRL + A to select those found cells.
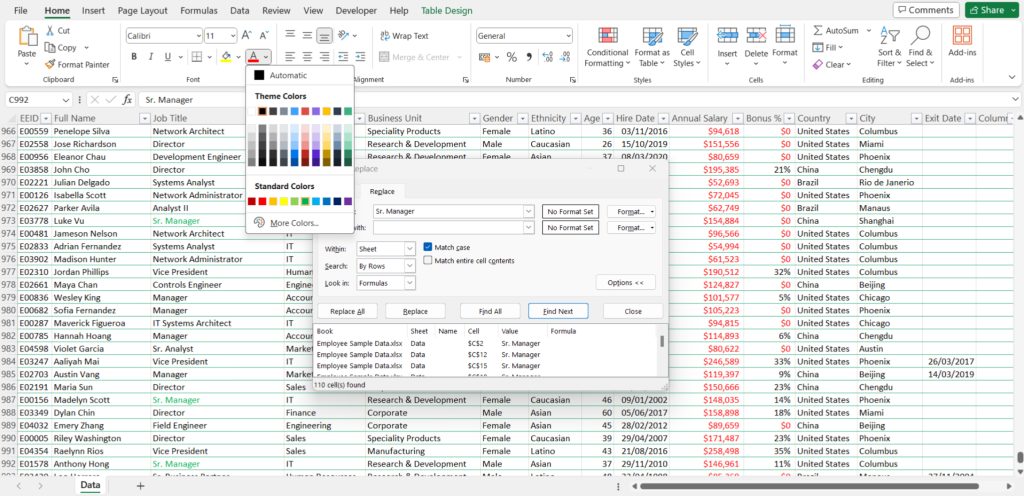
5. With matches selected both in the dialog and on the sheet, head to the Home tab.
6. In the Font group, open the dropdown menu next to Fill Color.
7. Choose a bright highlight color to visually spotlight the found data points across the sheet.
Now, you can clearly see at a glance where matches are located, even in expansive data sets! To undo, clear the highlight fill. To select different criteria, rerun Find All with a new search term. Use this simple trick to reveal hidden insights within dense Excel worksheets!
Conclusion
As you can see, Excel‘s Find and Replace truly offers so much more than meets the eye! So don’t settle for just hitting CTRL+F and calling it a day. Master these advanced tactics within Find and Replace to forever transform how you work with data.
No more endlessly scrolling just to make small tweaks in data sets, formats, or formulas. Instead, harness raw search power to implement mass changes at record speeds!
Learn more about Formulas with our 101 Advanced Excel Formulas & Functions Examples.
John Michaloudis is a former accountant and finance analyst at General Electric, a Microsoft MVP since 2020, an Amazon #1 bestselling author of 4 Microsoft Excel books and teacher of Microsoft Excel & Office over at his flagship MyExcelOnline Academy Online Course.

